Punch To Break A Mountain Destroy the Core for Gems
Turn a hollowed mountain into gem income on every difficulty.
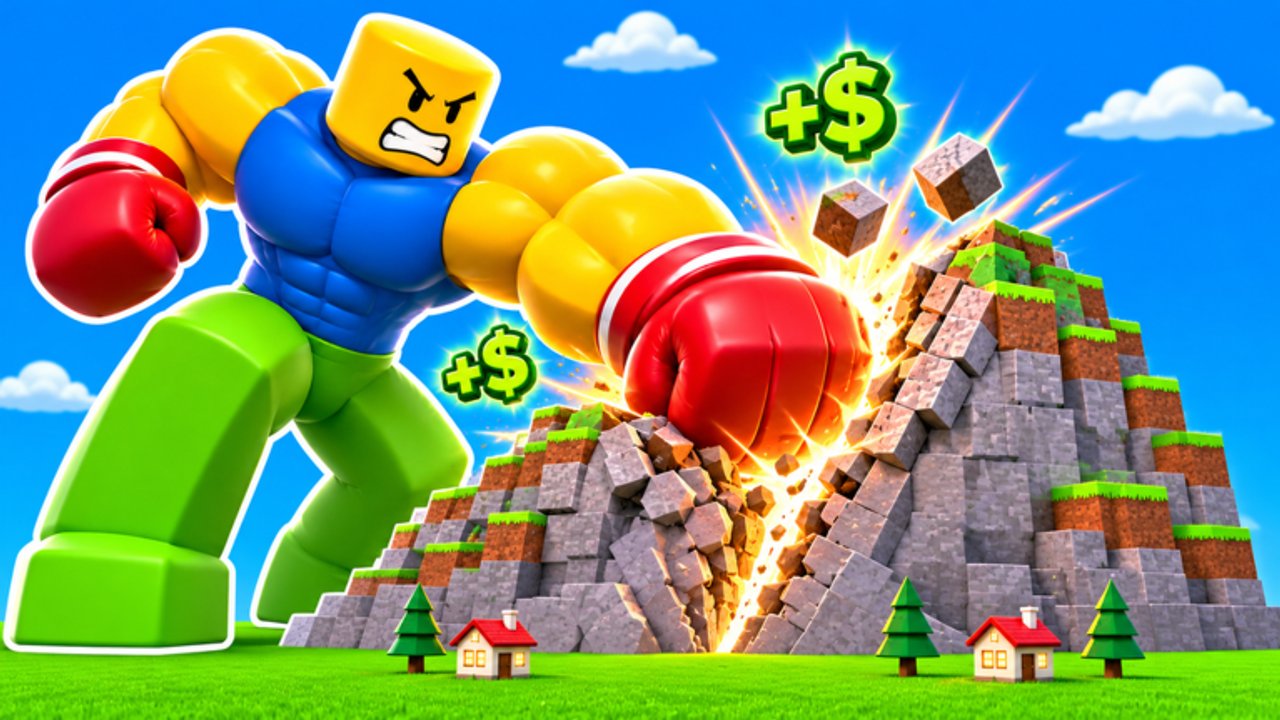
Destroying the Core is the climax of every Punch To Break A Mountain run. Cash upgrades make you faster; gems from the Core fund the longer arc — better gloves goals, class investments, and bragging rights on fastest-win boards. This guide explains how to prepare, how to open a path to the Core, how to finish it efficiently, and how co-op changes the final phase.
If you are brand new, skim Getting Started first so sell and upgrade muscle memory exist. Then return here before your first intentional Easy clear.
What the Core is
The mountain is layered content. Outer blocks teach the punch rhythm; deeper layers get denser as difficulty rises. The Core is the high-value objective you expose by clearing enough of the surrounding mass. Breaking it awards gems. That payout is why AFK punching forever on the outer crust is a trap — you must eventually commit to a Core attempt.
Prep checklist before you commit
Use this list on Easy first, then raise the bar for Medium and Hard (Difficulties):
- Power high enough that inner blocks do not feel like punching foam forever
- Backpack large enough for a long push without emergency sells every ten seconds
- Punch area upgraded so each swing deletes a useful chunk of shell
- Speed adequate to rotate around the mountain and return from sell trips
- Optional but huge: skill tree jump/flight nodes for vertical faces
- Glove equipped — even a common glove beats bare fists if the game gives you one early (Gloves tier list)
The Upgrade planner encodes the same idea as a session checklist.
Opening the mountain
Early shell
Start on a wide face. Keep backpack from capping. Sell on a timer you can feel — when drops slow because you are full, leave. Reinvest immediately per Upgrades. Do not hoard cash “for later” while underpowered.
Mid shell
As a crater forms, decide whether to dig a tunnel toward the expected Core or to peel layers evenly. Tunneling can expose the Core sooner but risks awkward angles; peeling is safer for beginners and for area-focused kits (Classes overview).
Core sighted
When the Core (or Core casing) is visible, change mindset: focus fire. Wandering back to random outer decorations wastes the prep you just did. Clear blockers that stop punches from landing on the Core, then commit swings.
Finishing the Core
- Stand where the largest number of Core-adjacent voxels sit inside your punch area.
- If backpack fills mid-burn, make a fast sell only if you are about to waste drops; otherwise finish if you are one magazine of punches away.
- Watch for difficulty-specific HP spikes on Hard — bring co-op if solos stall (Co-op).
- After the break, collect payout, note gem total, and reset expectations for the next run.
Gems: what they are for
Gems are the premium-style currency tied to Core success. Exact shop rows can shift with patches (Updates), but the planning rule is stable: Cores fund leapfrog goals, cash funds the engine that makes Cores possible. Do not ignore cash upgrades just because gems look shinier.
Solo vs co-op Core burns
Solo: Play patiently. Peeling plus disciplined sells wins. Mobility nodes matter more because nobody else opens angles.
Duo–quad (max 4 friends): Assign one player to call when the Core is exposed. Others stop sightseeing and stack damage. A speed player can keep sell duty if backpacks differ wildly. Avoid four people running four different directions on the outer crust.
Leaderboards and clean runs
Fastest-win boards — including No Robux — reward clean Core times. Practice Easy routes until your path is boring, then raise difficulty. Scripts that promise auto-Core loops are unverified for this title and risky (Scripts Hub, Auto Farm).
Troubleshooting slow Cores
| Symptom | Likely fix |
|---|---|
| Blocks take forever | Buy power; lower difficulty |
| Constant sell trips | Buy backpack; bring a sell buddy in co-op |
| Hitting one block at a time | Buy punch area; reposition |
| Long walks | Buy speed; unlock flight/jumps |
| Team chaos | Assign a Core caller |
Related pages
- Getting Started
- Upgrades
- Skill tree
- Difficulties
- Co-op
- Codes Hub — gem/cash gifts when live
Mastering the Core turns Punch To Break A Mountain from “click rock” into a real incremental plan. Each gem drop should buy a clearer next attempt — not a random distraction.
Frequently Asked Questions
Quick answers to the most common questions.
What do I get for destroying the Core?
Gems — the premium progression currency tied to Core clears. Cash still comes from selling block drops.
When should I attempt my first Core?
After early power and backpack upgrades on Easy, when you can sustain a push without constant emergency sells.
Does co-op help with the Core?
Yes. Up to 4 friends can focus fire once the Core is exposed, cutting clear times significantly.
Why is my Hard Core so slow?
Hard raises the mountain’s toughness. Add punch area, power, skill-tree mobility, and consider co-op before forcing it.
Should I sell during the final Core burn?
Only if a full backpack would waste a lot of drops. If the Core is nearly dead, finishing often beats a long sell detour.