Punch To Break A Mountain Easy, Medium & Hard
Promote difficulties only when your upgrades and mobility are ready.
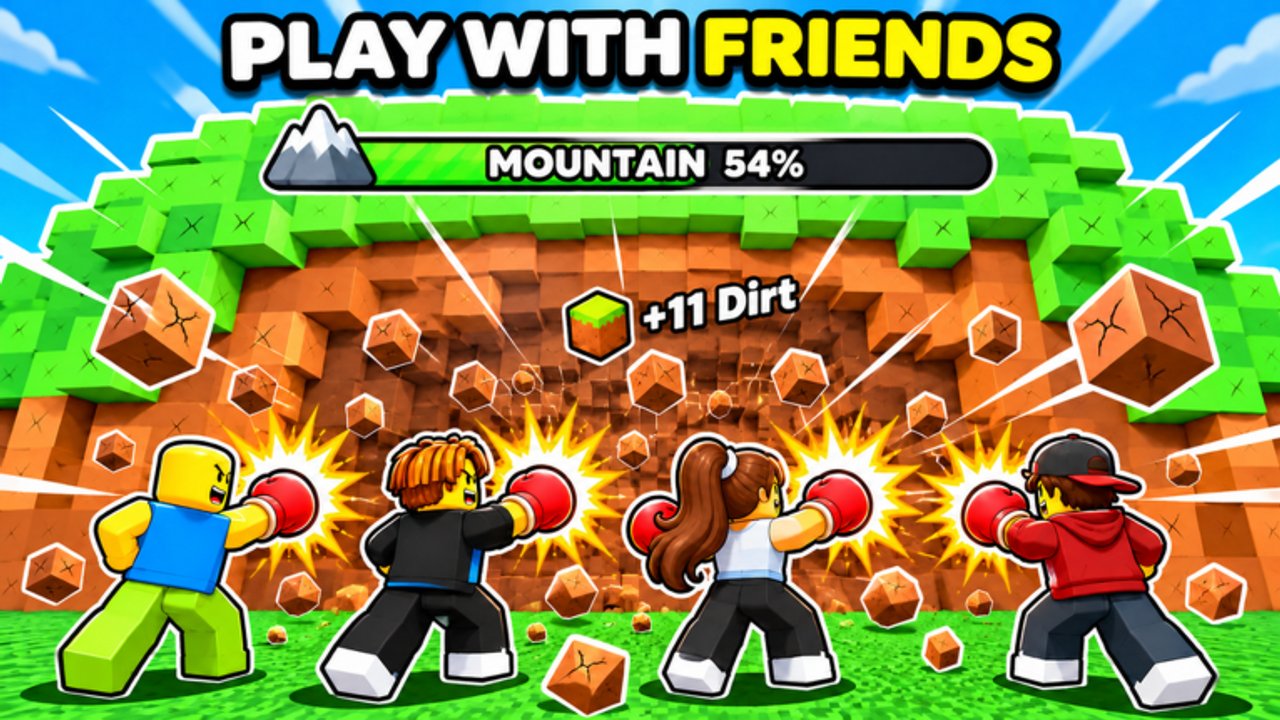
Punch To Break A Mountain ships three difficulties — Easy, Medium, and Hard — so the same punch → sell → upgrade → Core loop can scale from tutorial mountain to endgame clear. This guide explains what changes as you promote, how to know you are ready, and how co-op and classes interact with each tier.
If you are still learning the HUD, finish Getting Started on Easy before you treat difficulty select like a prestige button.
Shared rules across all difficulties
- You still punch blocks, collect drops, sell for cash, and destroy the Core for gems.
- The four cash upgrades (power, speed, punch area, backpack) remain the engine (Upgrades).
- Skill-tree jumps/flight still multiply pathing (Skill tree).
- Solo and co-op (up to 4 friends) both work; Hard loves squads (Co-op).
- Leaderboards track fast wins, with separate No Robux competition — harder clears are not automatic trophies if your route is messy.
Easy
Who it is for: Brand-new accounts, class experiments, teaching friends, warming up after a patch.
What it feels like: Blocks give way quickly once a few power ranks exist. Backpack pressure is the main early frustration. Cores are reachable in a single focused session.
Goals on Easy:
- Learn sell location and upgrade UI
- Complete the day-one checklist
- Destroy at least one Core (How to destroy the Core)
- Claim free Spin and peek at Codes
- Unlock early jump nodes
Promote when: You can clear a Core without feeling inventory-starved every minute, and you understand why punch area matters.
Medium
Who it is for: Players with a stable upgrade spine and a class they intend to main for a while (Best starter, Classes overview).
What it feels like: Shell HP rises. Poor area investment shows. Sell trips hurt more if backpack lagged. Mobility nodes start saving real minutes.
Goals on Medium:
- Balance power with punch area
- Stretch farm duration via backpack
- Practice Core focus fire without panic sells
- Test duo/trio roles before Hard
- Chase better gloves via daily spins (Gloves tier list)
Promote when: Medium Cores are consistent, flight or strong jumps are online, and your clear time is improving rather than random.
Hard
Who it is for: Optimized solos, coordinated four-stacks, leaderboard grinders.
What it feels like: Tanky layers punish glass builds. Pathing mistakes cost huge time. Co-op focus fire becomes a massive advantage. Upgrade neglect is obvious within minutes.
Goals on Hard:
- Maintain balanced power/area/backpack
- Use flight to hold Core angles
- Assign co-op callers and sellers
- Compare times against No Robux boards if that is your niche
- Re-check tiers after patches (Updates, Classes tier list)
Demote when: Clears stall, tempers rise, or a patch clearly moved the goalposts — there is no shame in farming Medium for gems while you retool.
Readiness scorecard
Give yourself a point for each yes:
- Power feels snappy on current difficulty outer layers
- Backpack supports a long push
- Punch area hits multiple blocks reliably
- Speed or flight removes pathing rage
- You have destroyed a Core on the difficulty below
- (Optional) At least one friend knows the sell point
0–2: Stay or demote. 3–4: Borderline — one more upgrade session. 5–6: Promote.
Rewards mindset
Higher difficulties exist to challenge the engine you built, not to replace it. If gem income somehow looks better on Easy because you fail Hard constantly, Easy gems per hour win. Efficiency beats ego. Codes and spins remain difficulty-agnostic bonuses when live.
Common mistakes
- Jumping Easy → Hard after one lucky glove
- Bringing three brand-new friends to Hard as a “fun intro”
- Blaming class tiers when upgrades are empty
- Ignoring skill tree until Hard walls you
- Looking for Hard-only scripts that do not exist safely (Scripts)
Related pages
Pick the difficulty that makes punches feel purposeful. The mountain is supposed to fight back — just not before you have fists worth throwing.
Frequently Asked Questions
Quick answers to the most common questions.
How many difficulties are there?
Three: Easy, Medium, and Hard.
Should beginners start on Medium for better rewards?
No. Learn the loop and finish Easy Cores first. Failed Hard runs are usually worse gem/hour than successful Easy runs.
When is Hard realistic?
When power, backpack, and punch area are balanced, mobility nodes are online, and Medium clears feel consistent — ideally with co-op.
Do difficulties change the basic loop?
No. You still punch, sell, upgrade, and destroy the Core. Harder modes raise toughness and demand better stats and pathing.
Can I switch difficulties freely?
Yes in normal play. Use easier modes to regear after patches or to onboard friends.